Security camera pixel density connects image resolution to the width of the scene at the target. It is more useful than megapixels alone, but it remains a planning measure. The final requirement must be demonstrated in recorded footage under the lighting, motion and viewing conditions that matter to the operator.
Table of Contents
How is pixel density calculated?
For a simplified scene plane, horizontal pixel density equals the horizontal image pixels divided by the physical scene width at the target. State both the image dimensions and the distance or plane where that width was measured.
An illustrative 1,920-pixel-wide recording covering 12 m gives 160 pixels per meter. If the same resolution covers 24 m, density falls to 80 pixels per meter. A 3,840-pixel image covering 24 m returns to 160 pixels per meter. More megapixels have therefore not necessarily improved detail at the target.
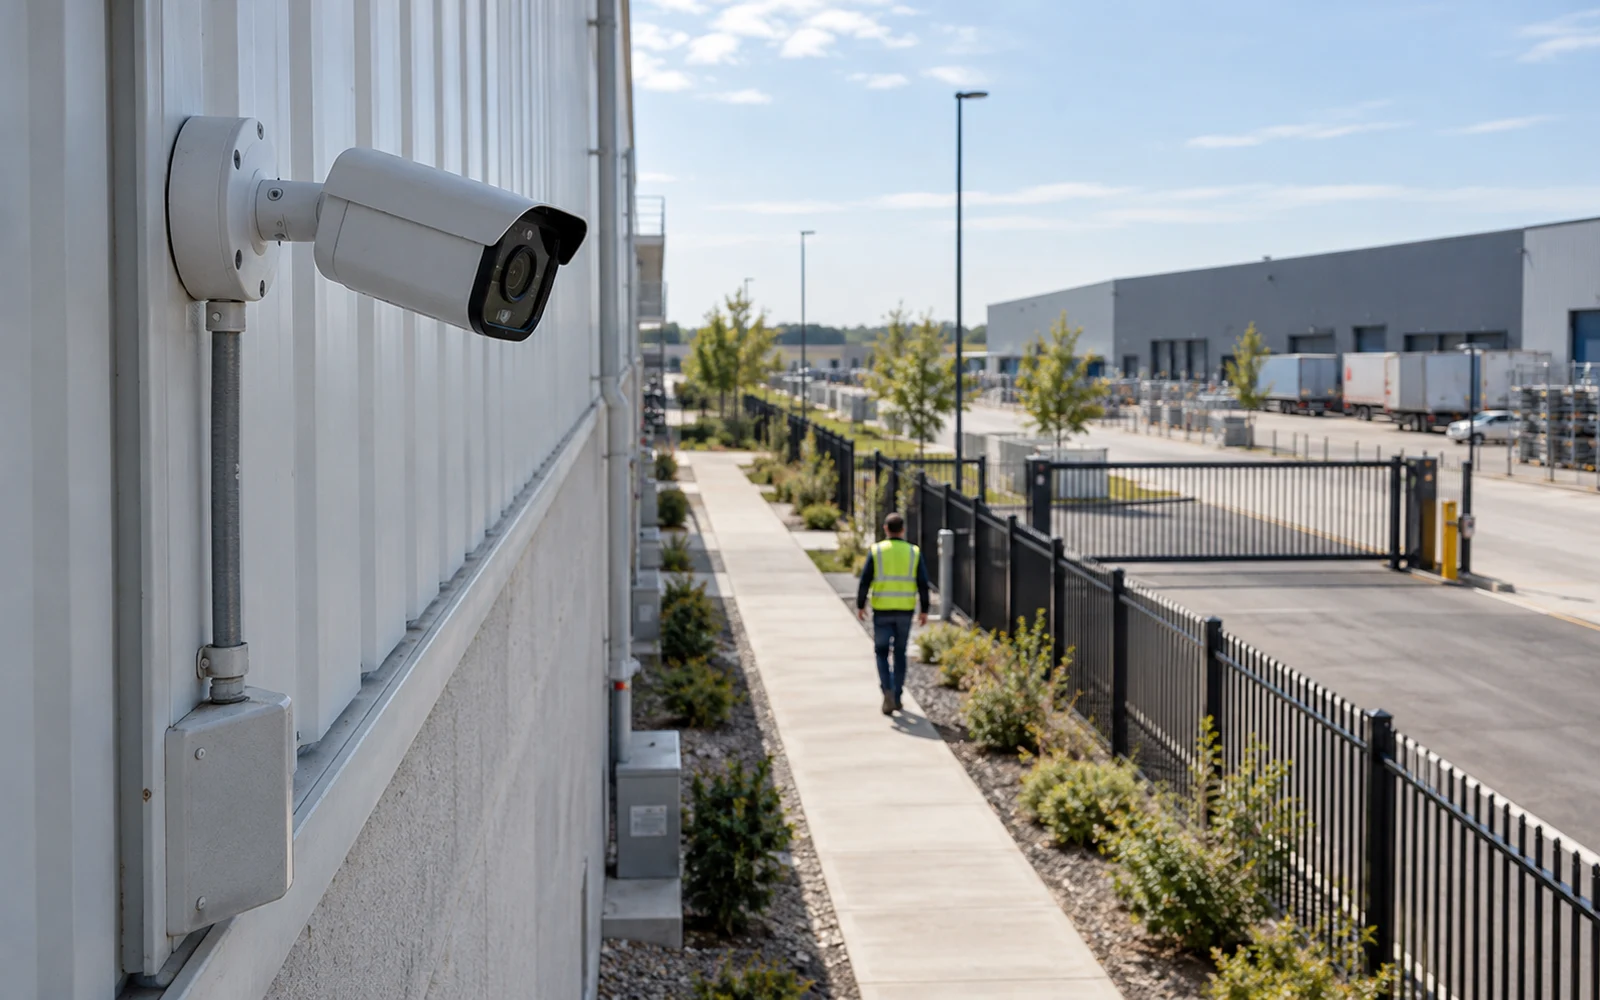
The calculation assumes the pixels span the stated scene width. Perspective, cropping and lens distortion can make local density different from a whole-frame average. Check the actual critical positions instead of presenting one number for an entire access road.
Digital enlargement does not add captured scene information. A larger display crop can help a viewer inspect existing detail, but it is not equivalent to acquiring a narrower optical view.
Use DORI as a planning reference, not a promise
DORI stands for detection, observation, recognition and identification. Axis’s May 2023 Pixel density and DORI white paper summarizes the familiar planning values of 25, 63, 125 and 250 pixels per meter respectively.
The paper ties those categories to human interpretation of visual video, not to a universal analytics or thermal-camera requirement. It also warns that lighting, optics and compression affect the outcome. Treat the figures as a named planning reference, not proof of compliance with whichever standard edition or operational requirement a project specifies.
A manufacturer example reinforces that limitation: the AXIS P5654-E Mk II datasheet explains its DORI distance assumptions and cautions about motion, compression, lighting and focus. Use the model’s stated assumptions when comparing those distances with another camera configuration.
Write the operational task in plain language before choosing a reference level. “Confirm someone is present” and “retain sufficient detail for a later identity review” require different evidence and may need different views.
A scene-based recording acceptance matrix
Use a recommended matrix like this to prevent a successful central daytime view from standing in for the whole site.
| Test position or condition | What to examine | Evidence to retain |
|---|---|---|
| Near critical boundary | Useful framing and required object detail | Native recorded clip and position description |
| Far decision point | Detail at the actual target distance | Scene width or local pixel measurement |
| Edge of image | Distortion, focus and perspective | Separate edge-position samples |
| Backlit entrance | Whether the required detail survives contrast | Clip with representative lighting direction |
| Night operation | Exposure, illumination and moving-subject detail | Actual configured night recording |
| Exported playback | Detail after recording and export processing | Export settings, player and comparison result |
Agree on the viewer task and review conditions before capture. Use permitted test participants and appropriate access controls, and avoid collecting unrelated personal information merely to make a demonstration look realistic.
Record failures by position and condition. A camera may meet a detection requirement across the whole lane while supporting a more demanding task only in a smaller area. That is a coverage distinction to document, not a reason to describe the entire view with the strongest result.
Why does the exported stream matter?
The operator may not receive the same stream used during setup. A live high-resolution preview, a lower-resolution recording and a transcoded export are different evidence paths. Verify the dimensions and quality of the file actually retained.
Check normal and event recording profiles, stream selection, frame rate, exposure behavior and export settings. Do not assume a camera’s sensor resolution is the recording resolution. If a setting changes during night operation or bandwidth pressure, include that mode in the acceptance record.
The video-storage guide covers capacity and bitrate planning. The CCTV export guide addresses preserving a usable handover. Neither substitutes for a scene-detail check, but both can change whether the intended footage survives.
Freeze the coverage obligation
Deliver a marked scene plan, required task by location, camera configuration and representative accepted clips. Identify exclusions and the changes that trigger revalidation, such as lens adjustment, camera movement, lighting changes or recording-profile changes.
Connect the planning matrix with the image the operator actually sees and exports. Test the required task at the selected view, range and conditions, then retain representative frames with the camera configuration.
FAQs
How do you calculate security camera pixel density?
For a simplified scene plane, divide the horizontal pixels in the recorded image by the scene width in meters at the target. A 1,920-pixel image spanning 12 m gives 160 pixels per meter. Perspective and lens distortion can make density vary across the view.
Does meeting a DORI value guarantee identification?
No. DORI-based pixel densities are planning references for defined human-viewing tasks. Lighting, motion, optics, compression, view angle and display conditions still affect the result. Verify the actual recorded task and the applicable project requirement.
Does digital zoom increase captured detail?
Enlarging an existing image does not create new captured scene detail. Optical changes or a different camera view may change the acquired information, but the accepted recording and export must still be checked.